
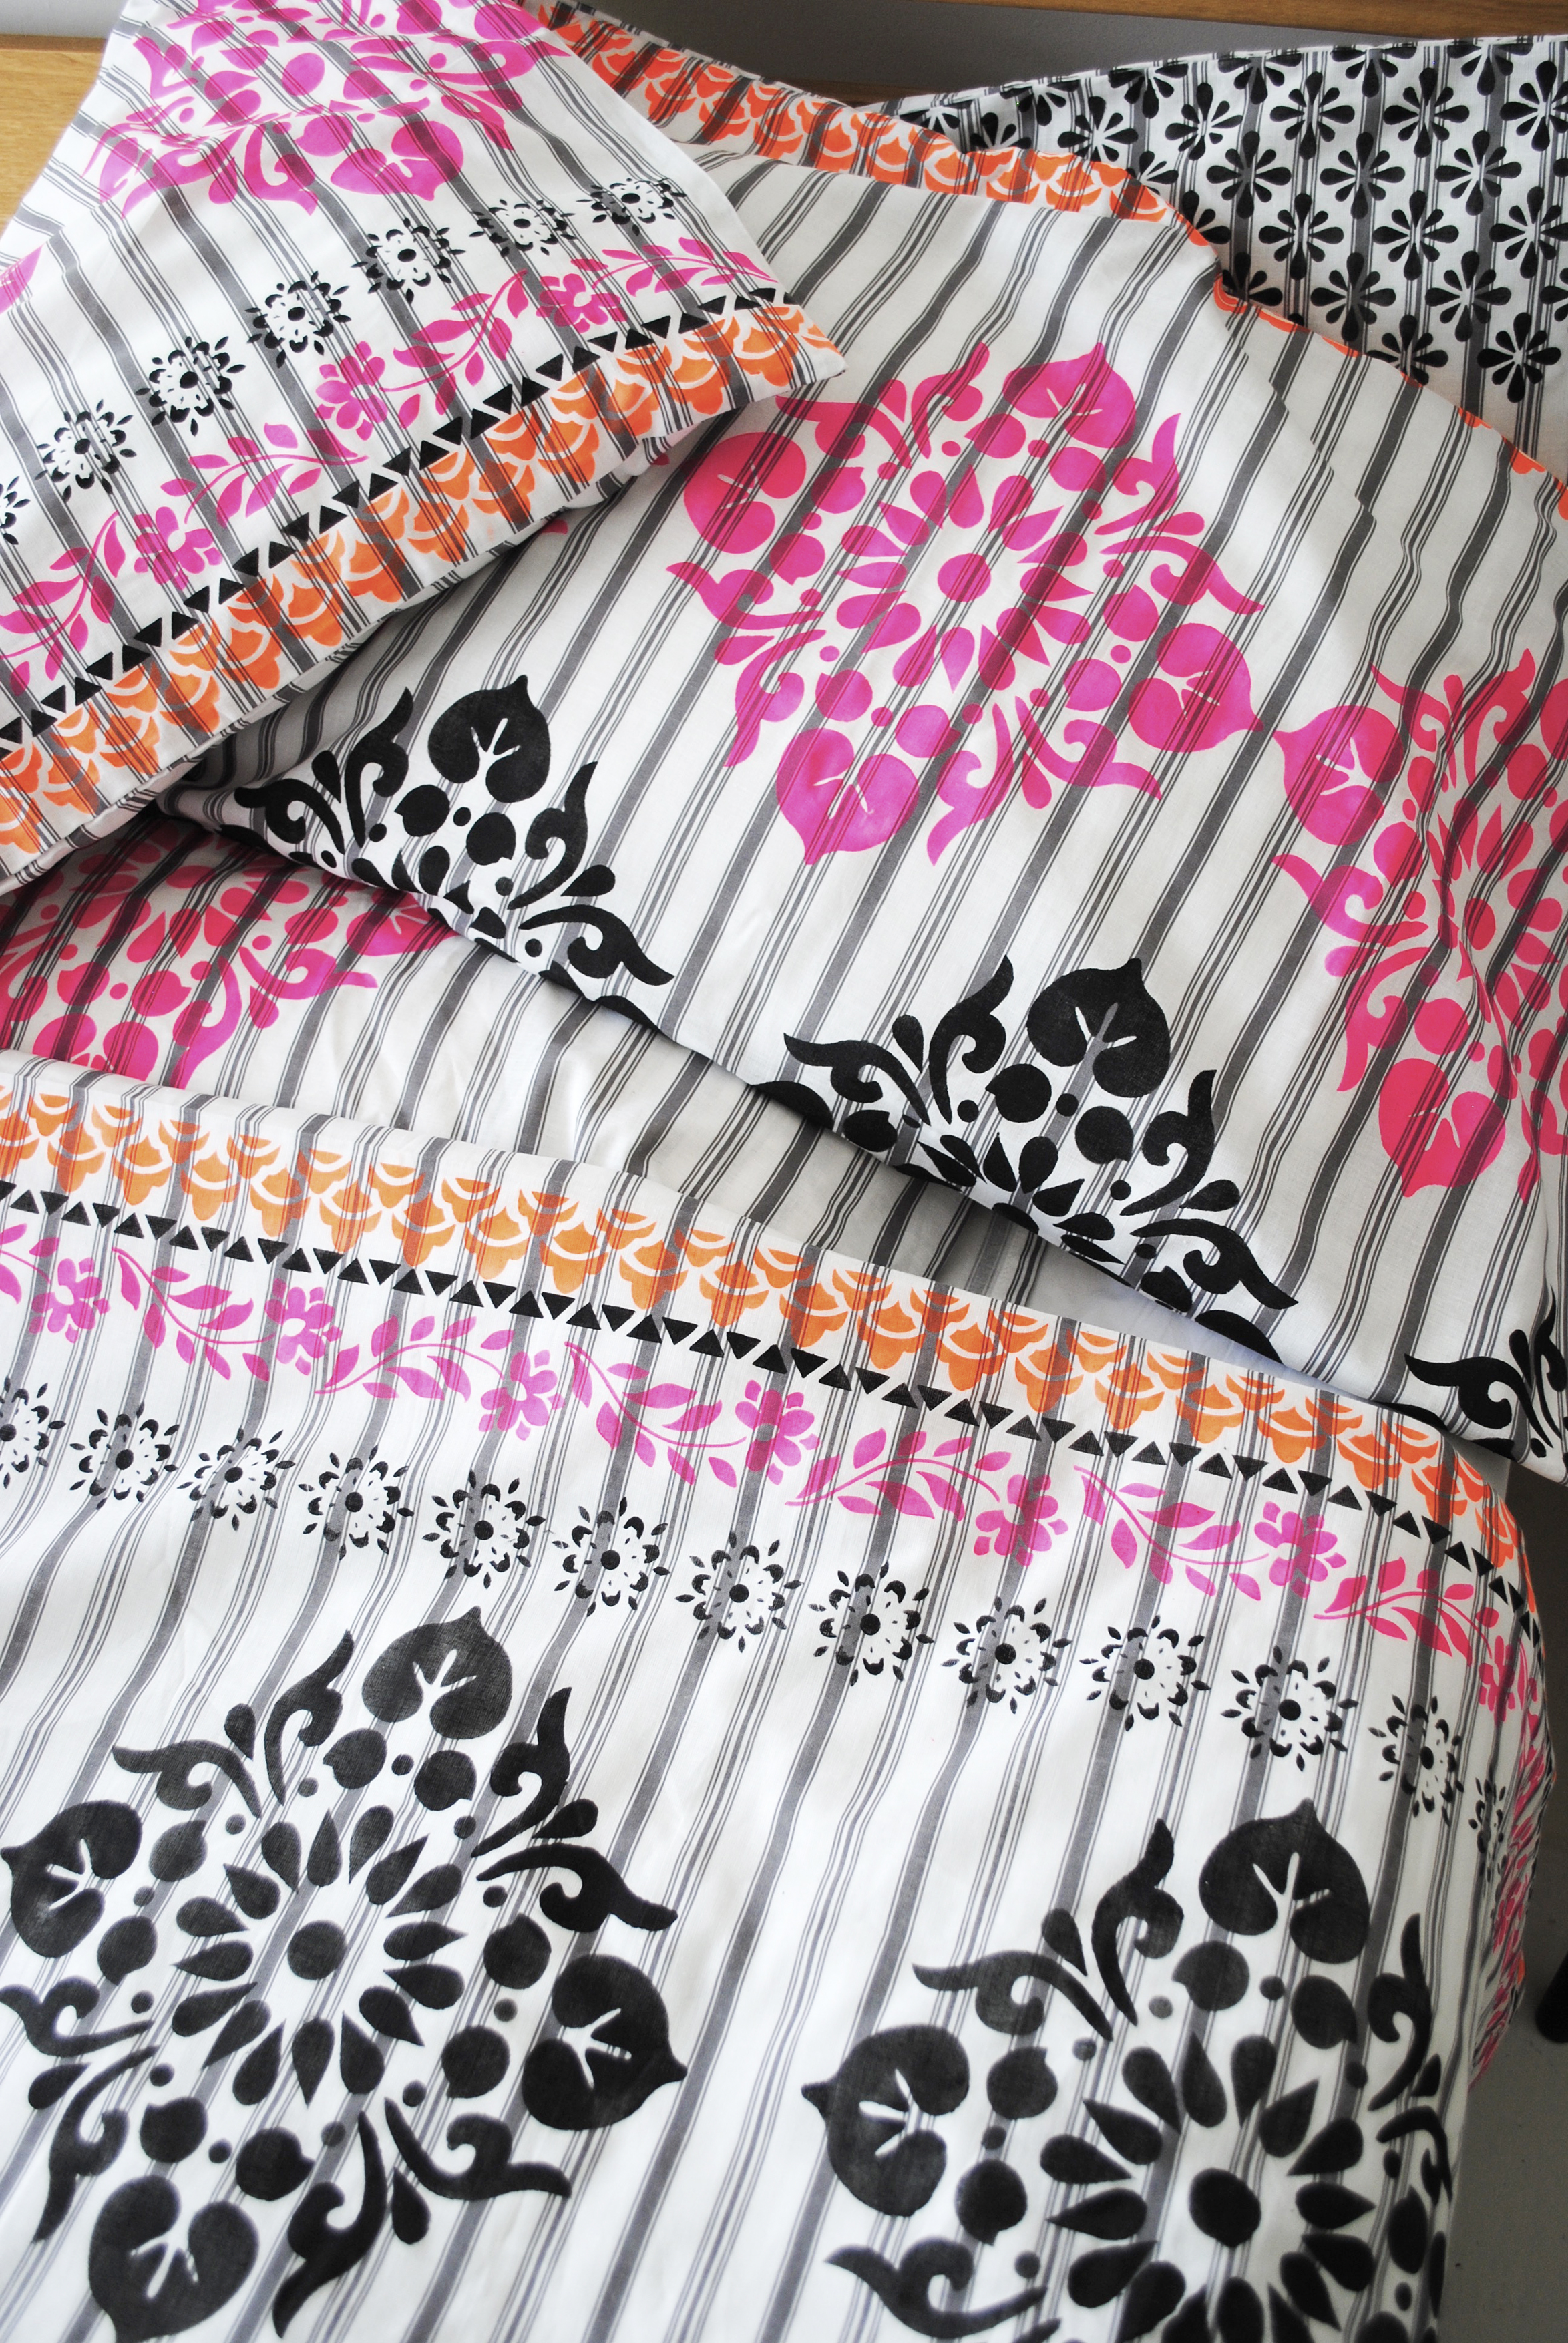
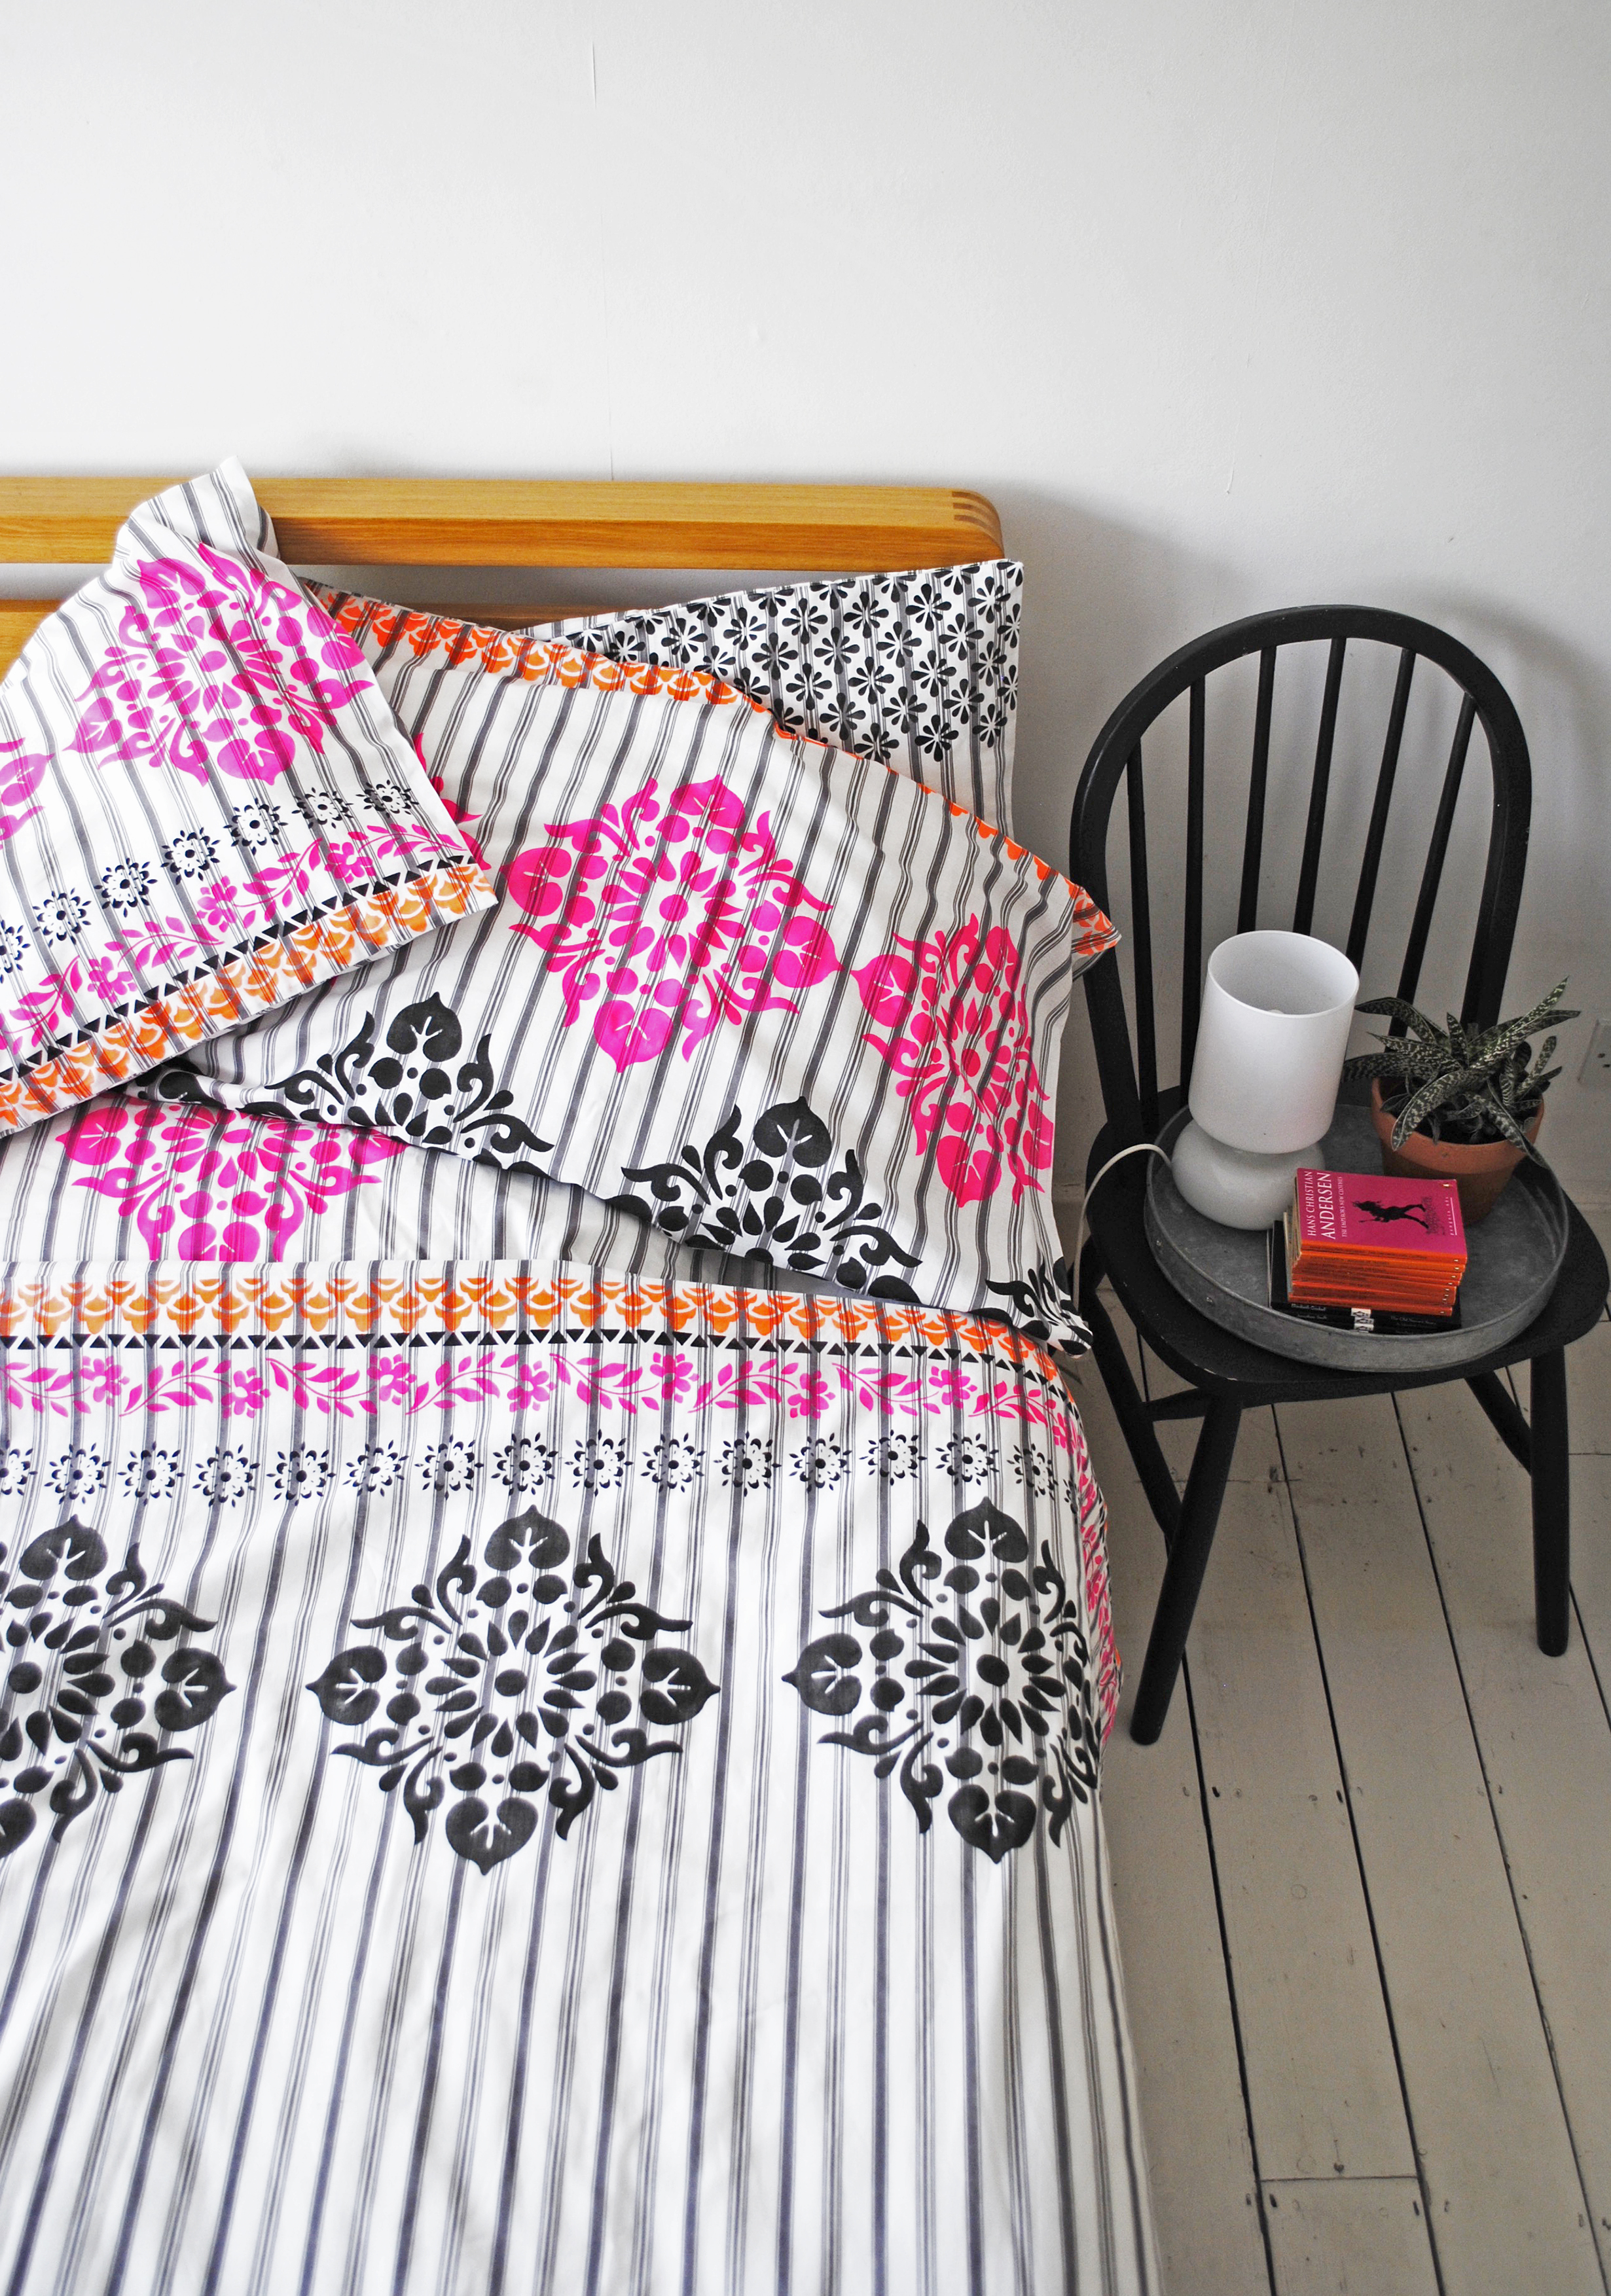
Although I have been working a lot on furniture recently, my background is in printed textiles and I recently returned to fabric for a Reloved Magazine project.
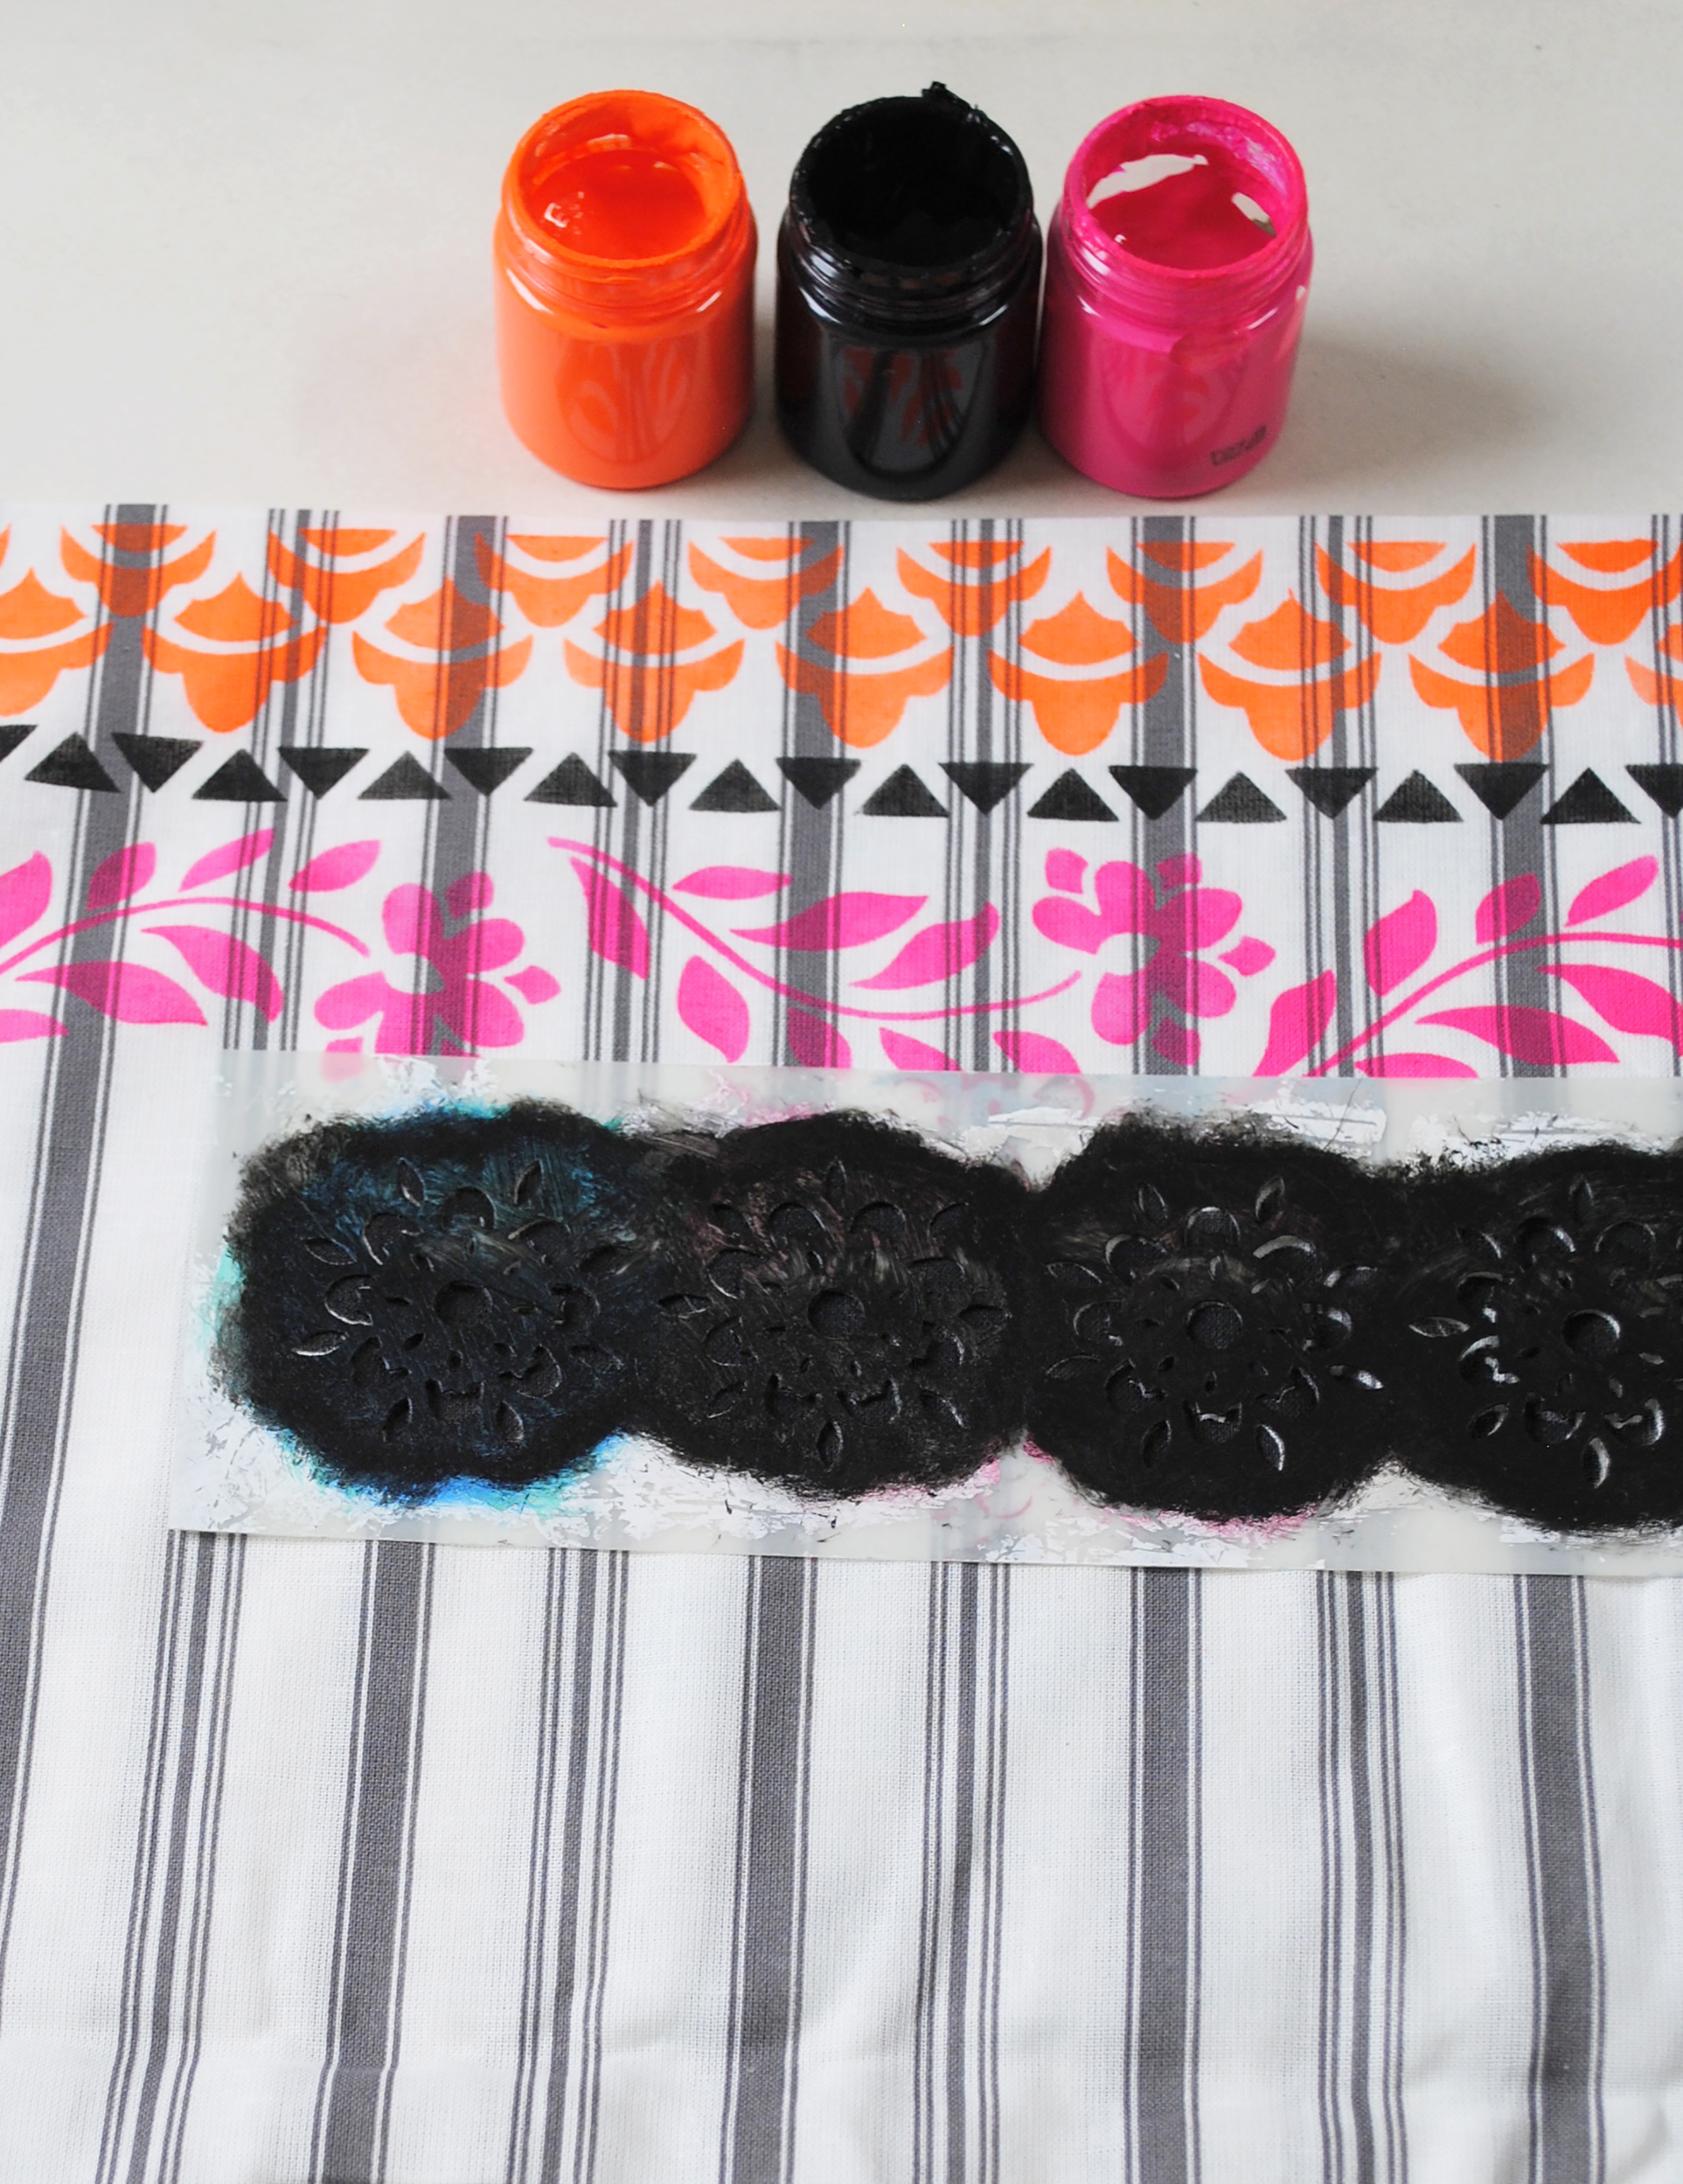
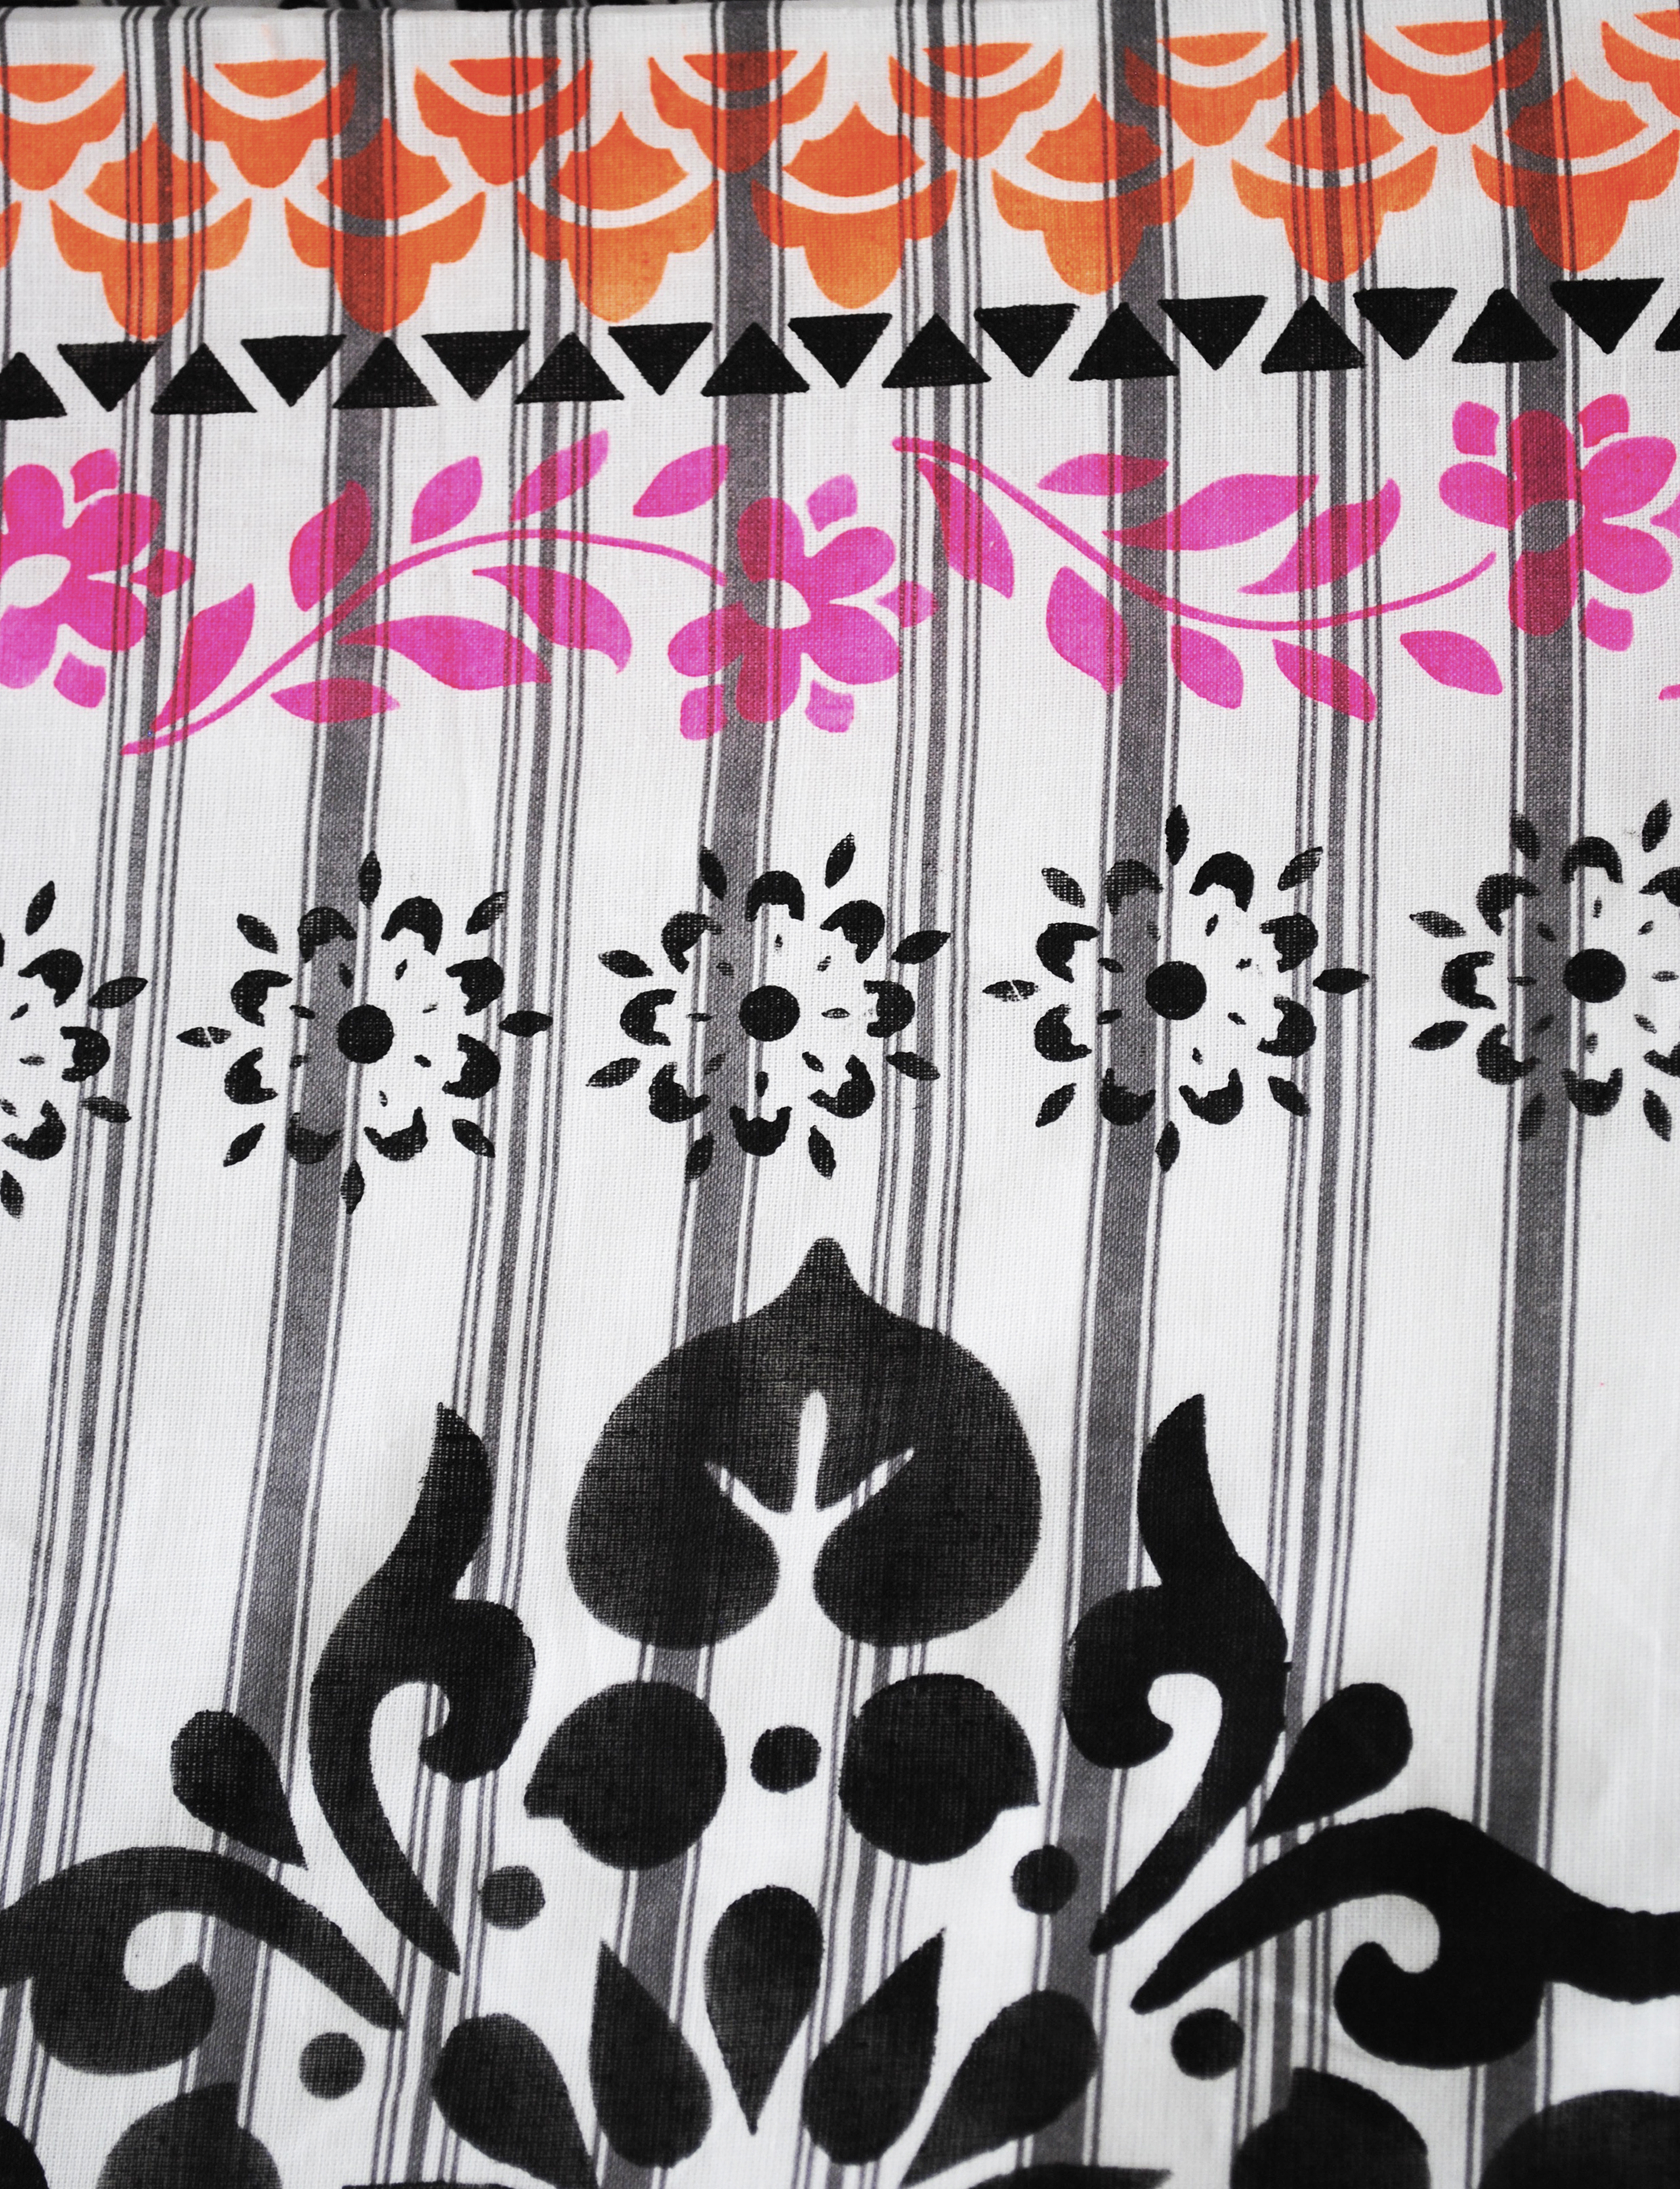
I actually used a new duvet set from IKEA which is made from a woven stripe cotton, but this is also a great way to update old bed linen and layering the stencil design on top of an existing print or stripe can create really interesting results.
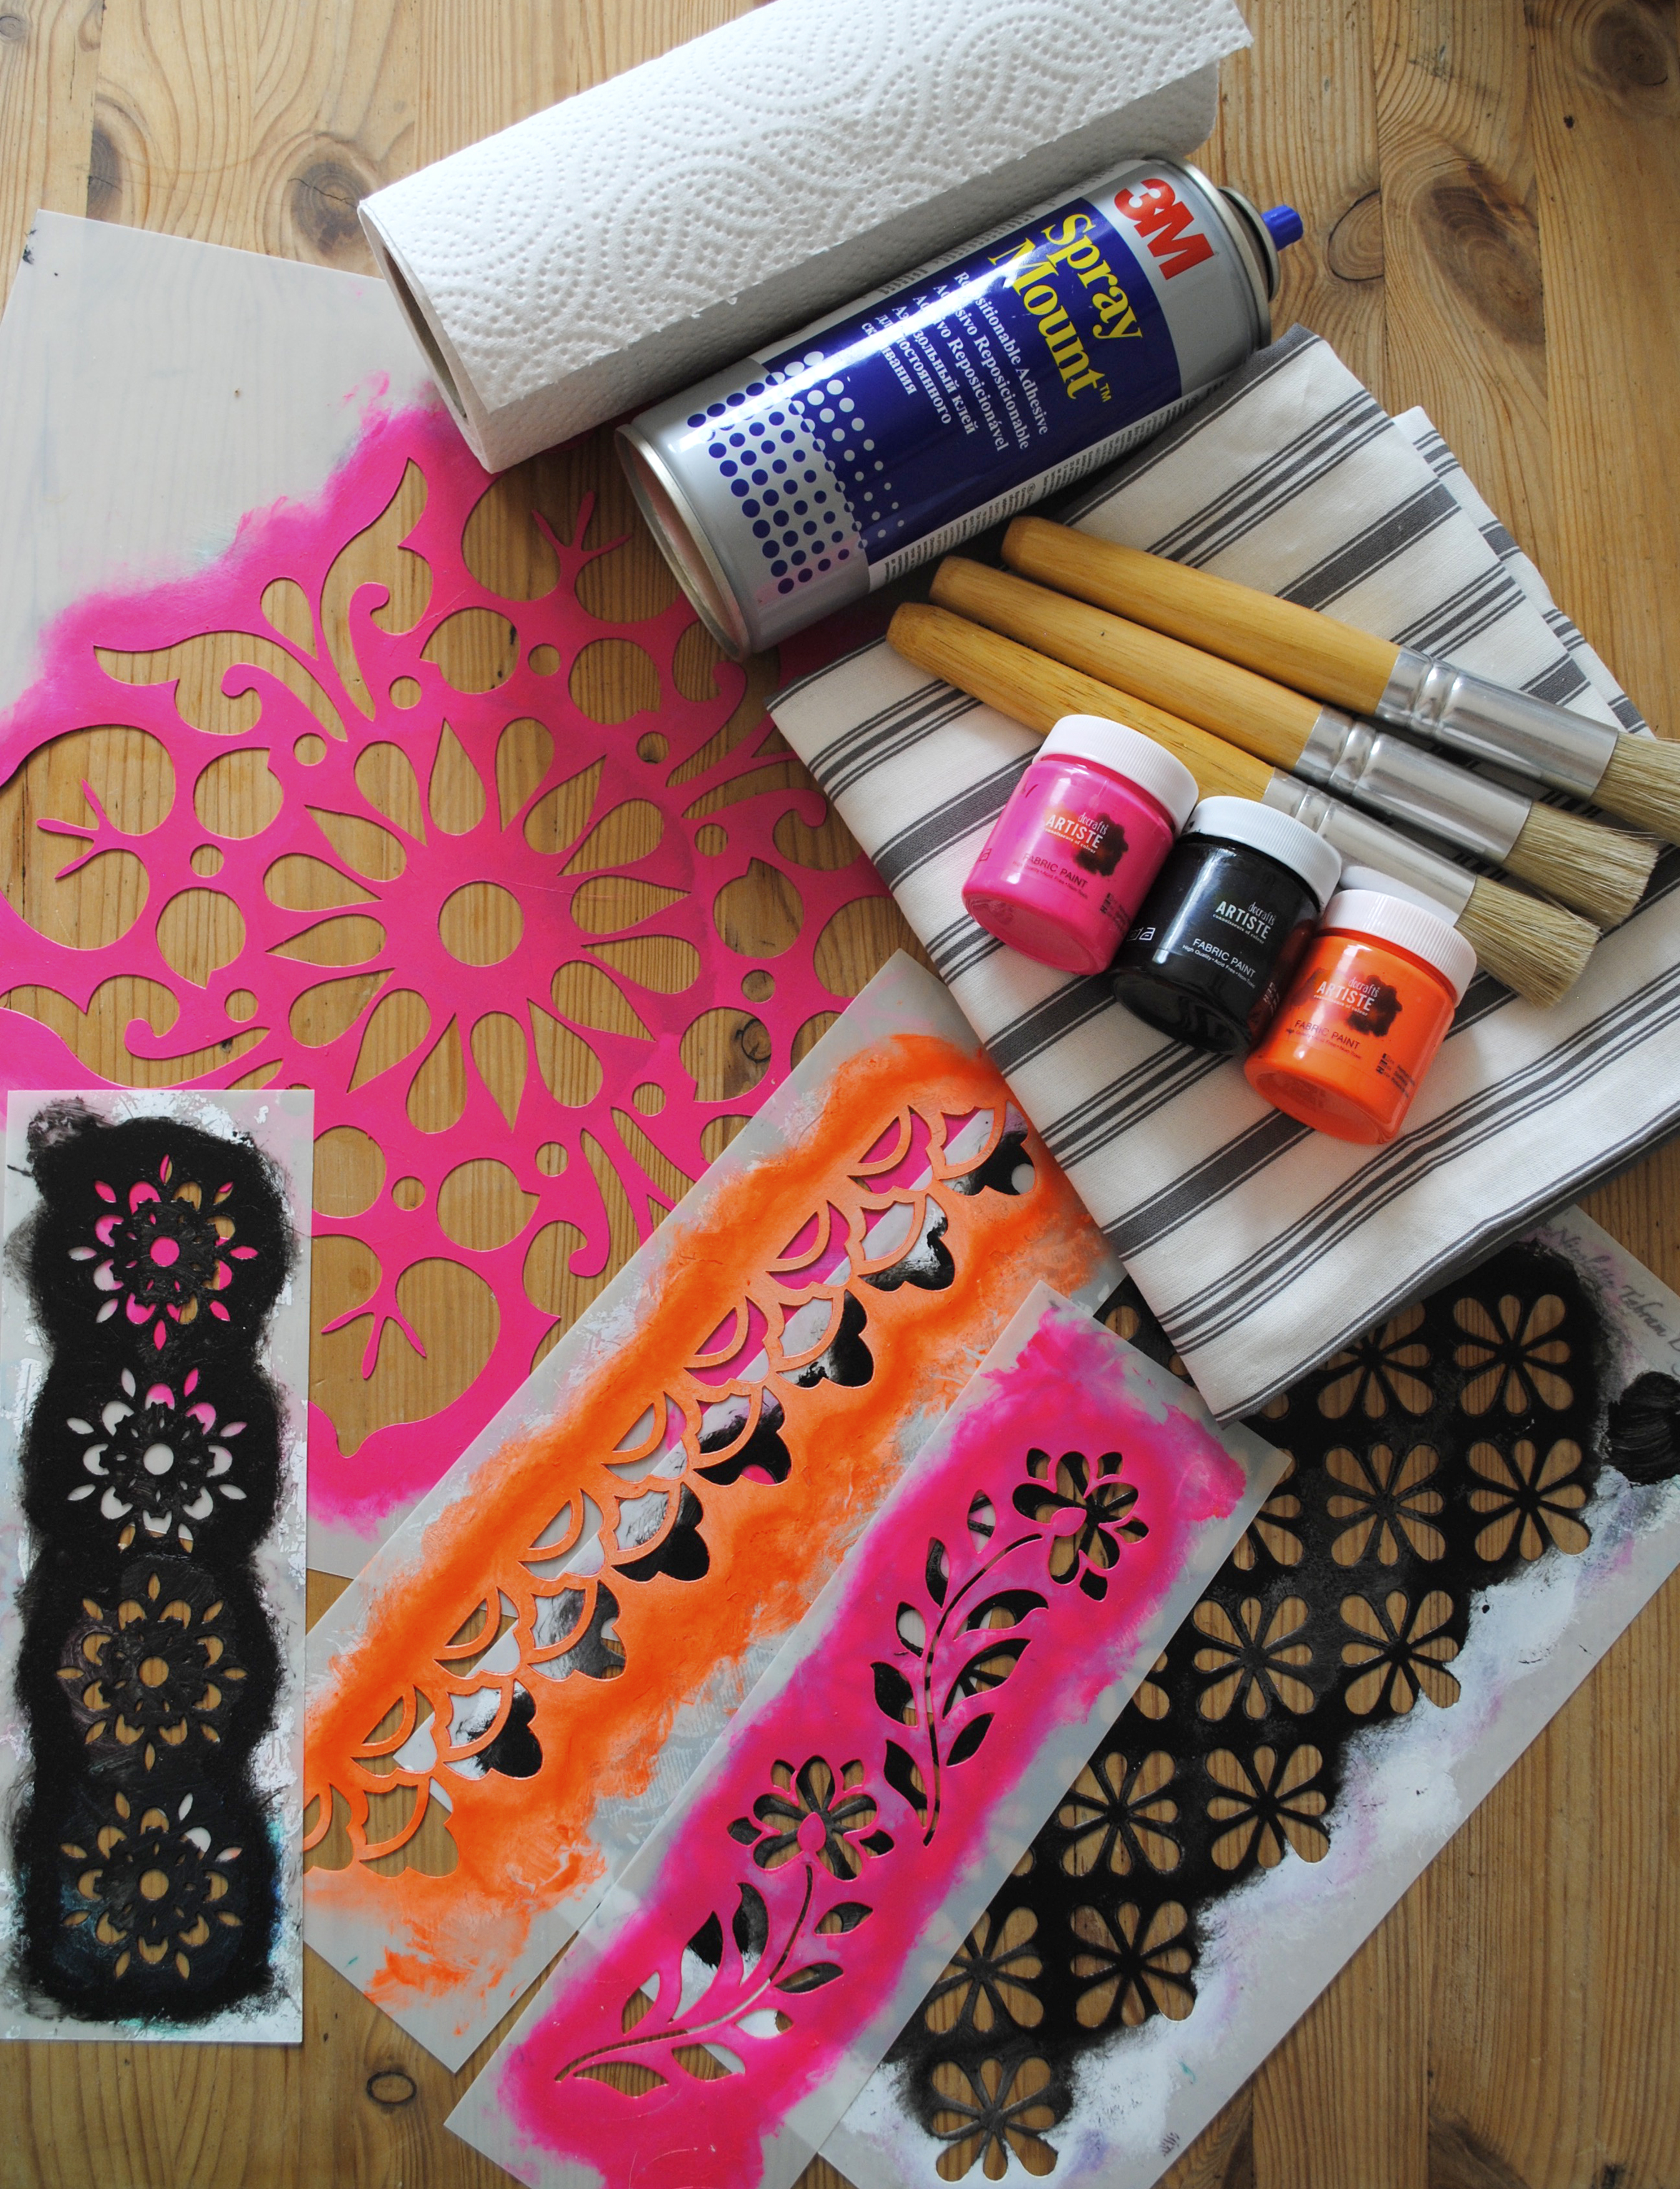
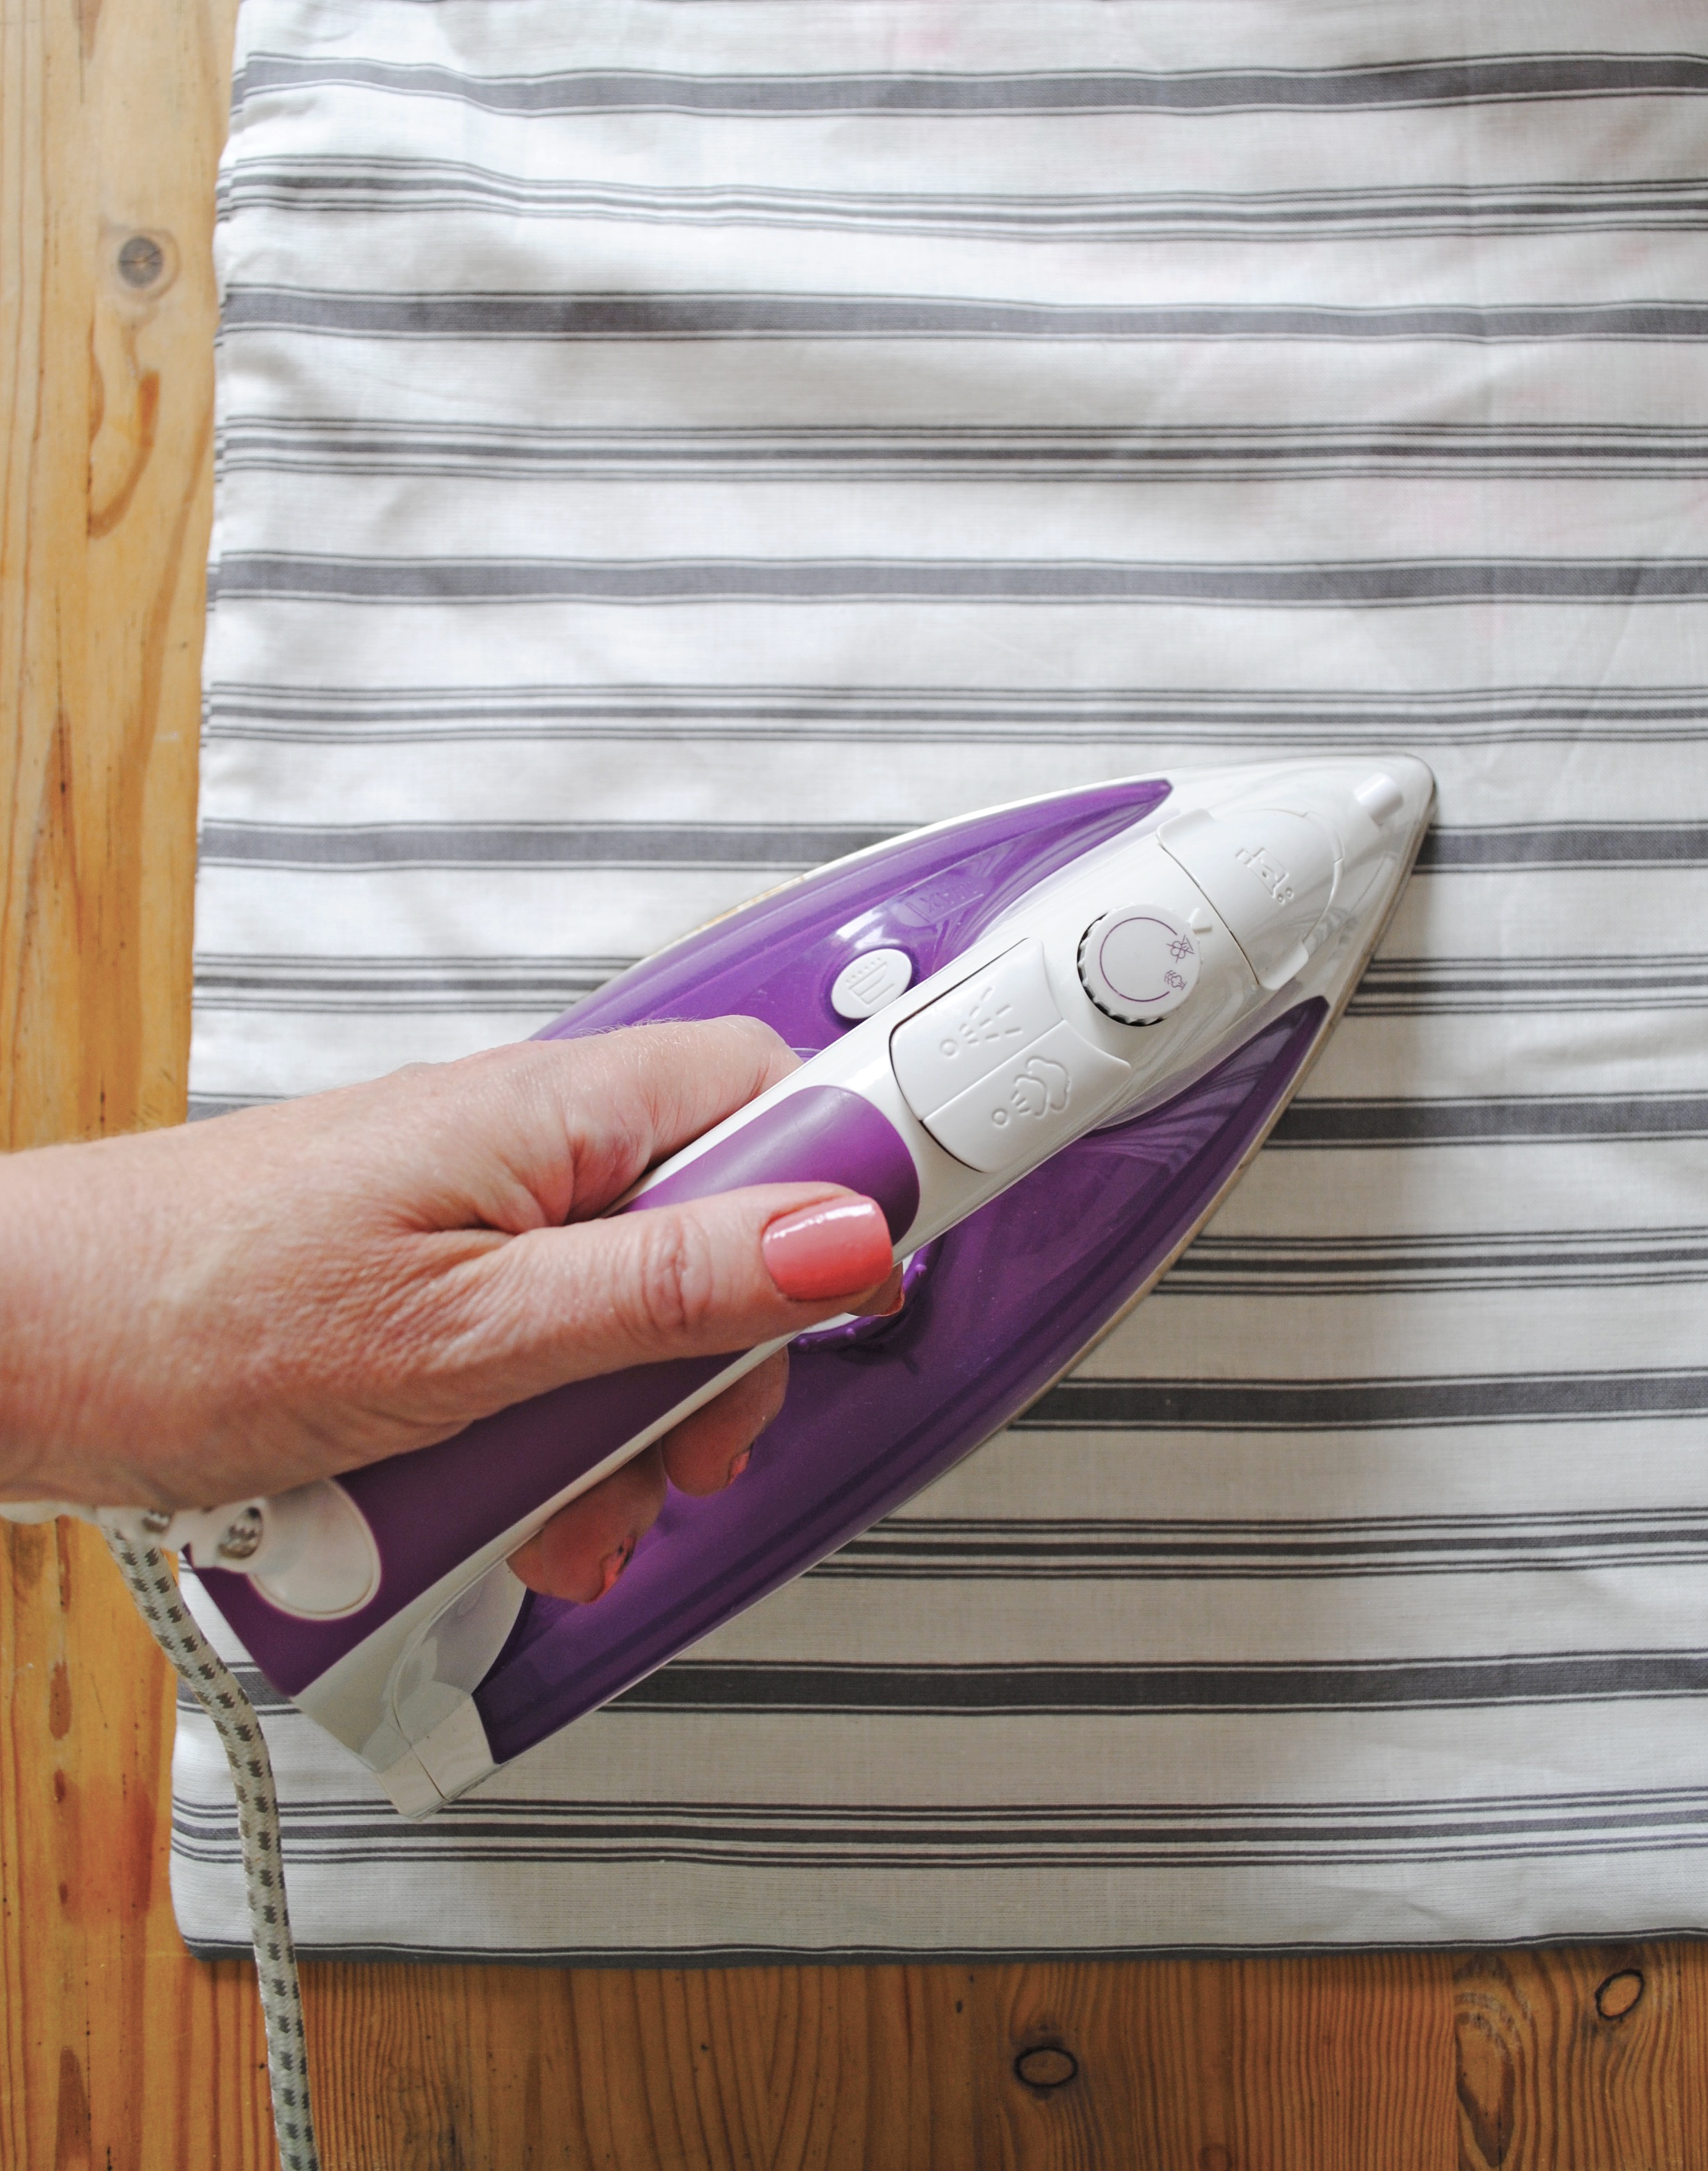
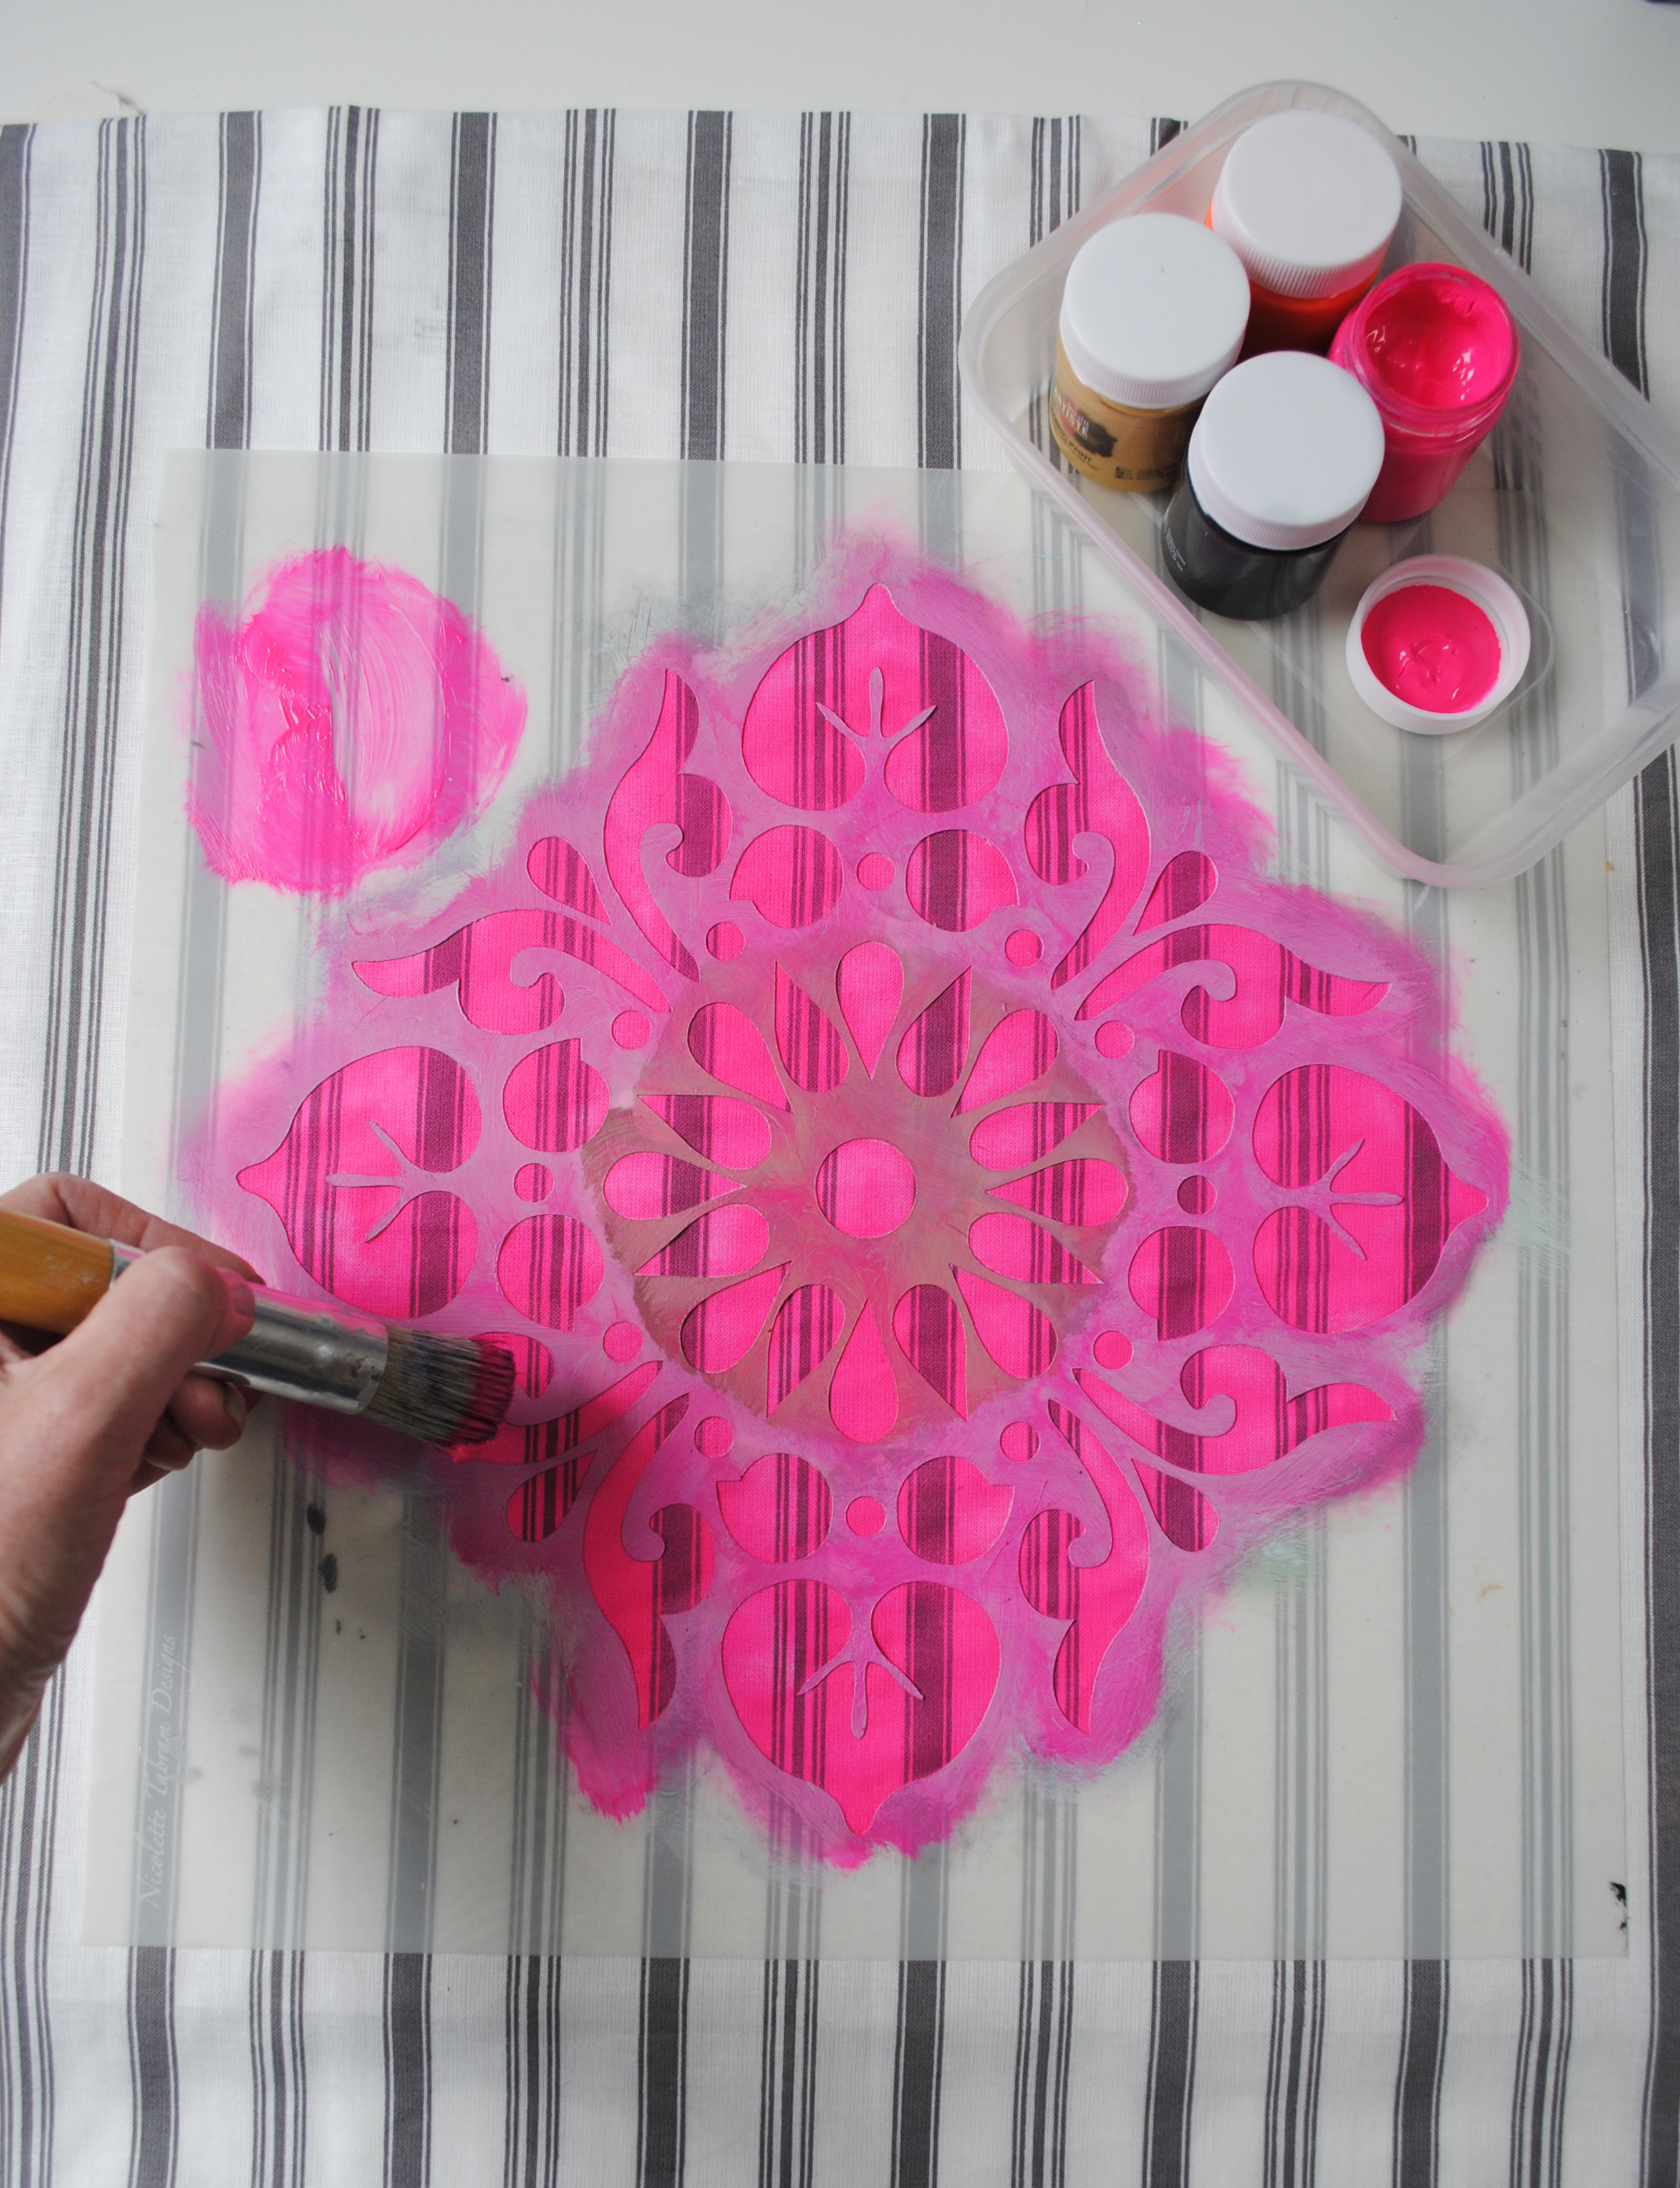
When stencilling fabric, the first step is to use an iron to create a nice flat surface on which to work. I would really recommend lightly coating the back of the stencil with a spray adhesive, so that it adheres evenly to the fabric. This will prevent the paint from bleeding underneath the stencil.
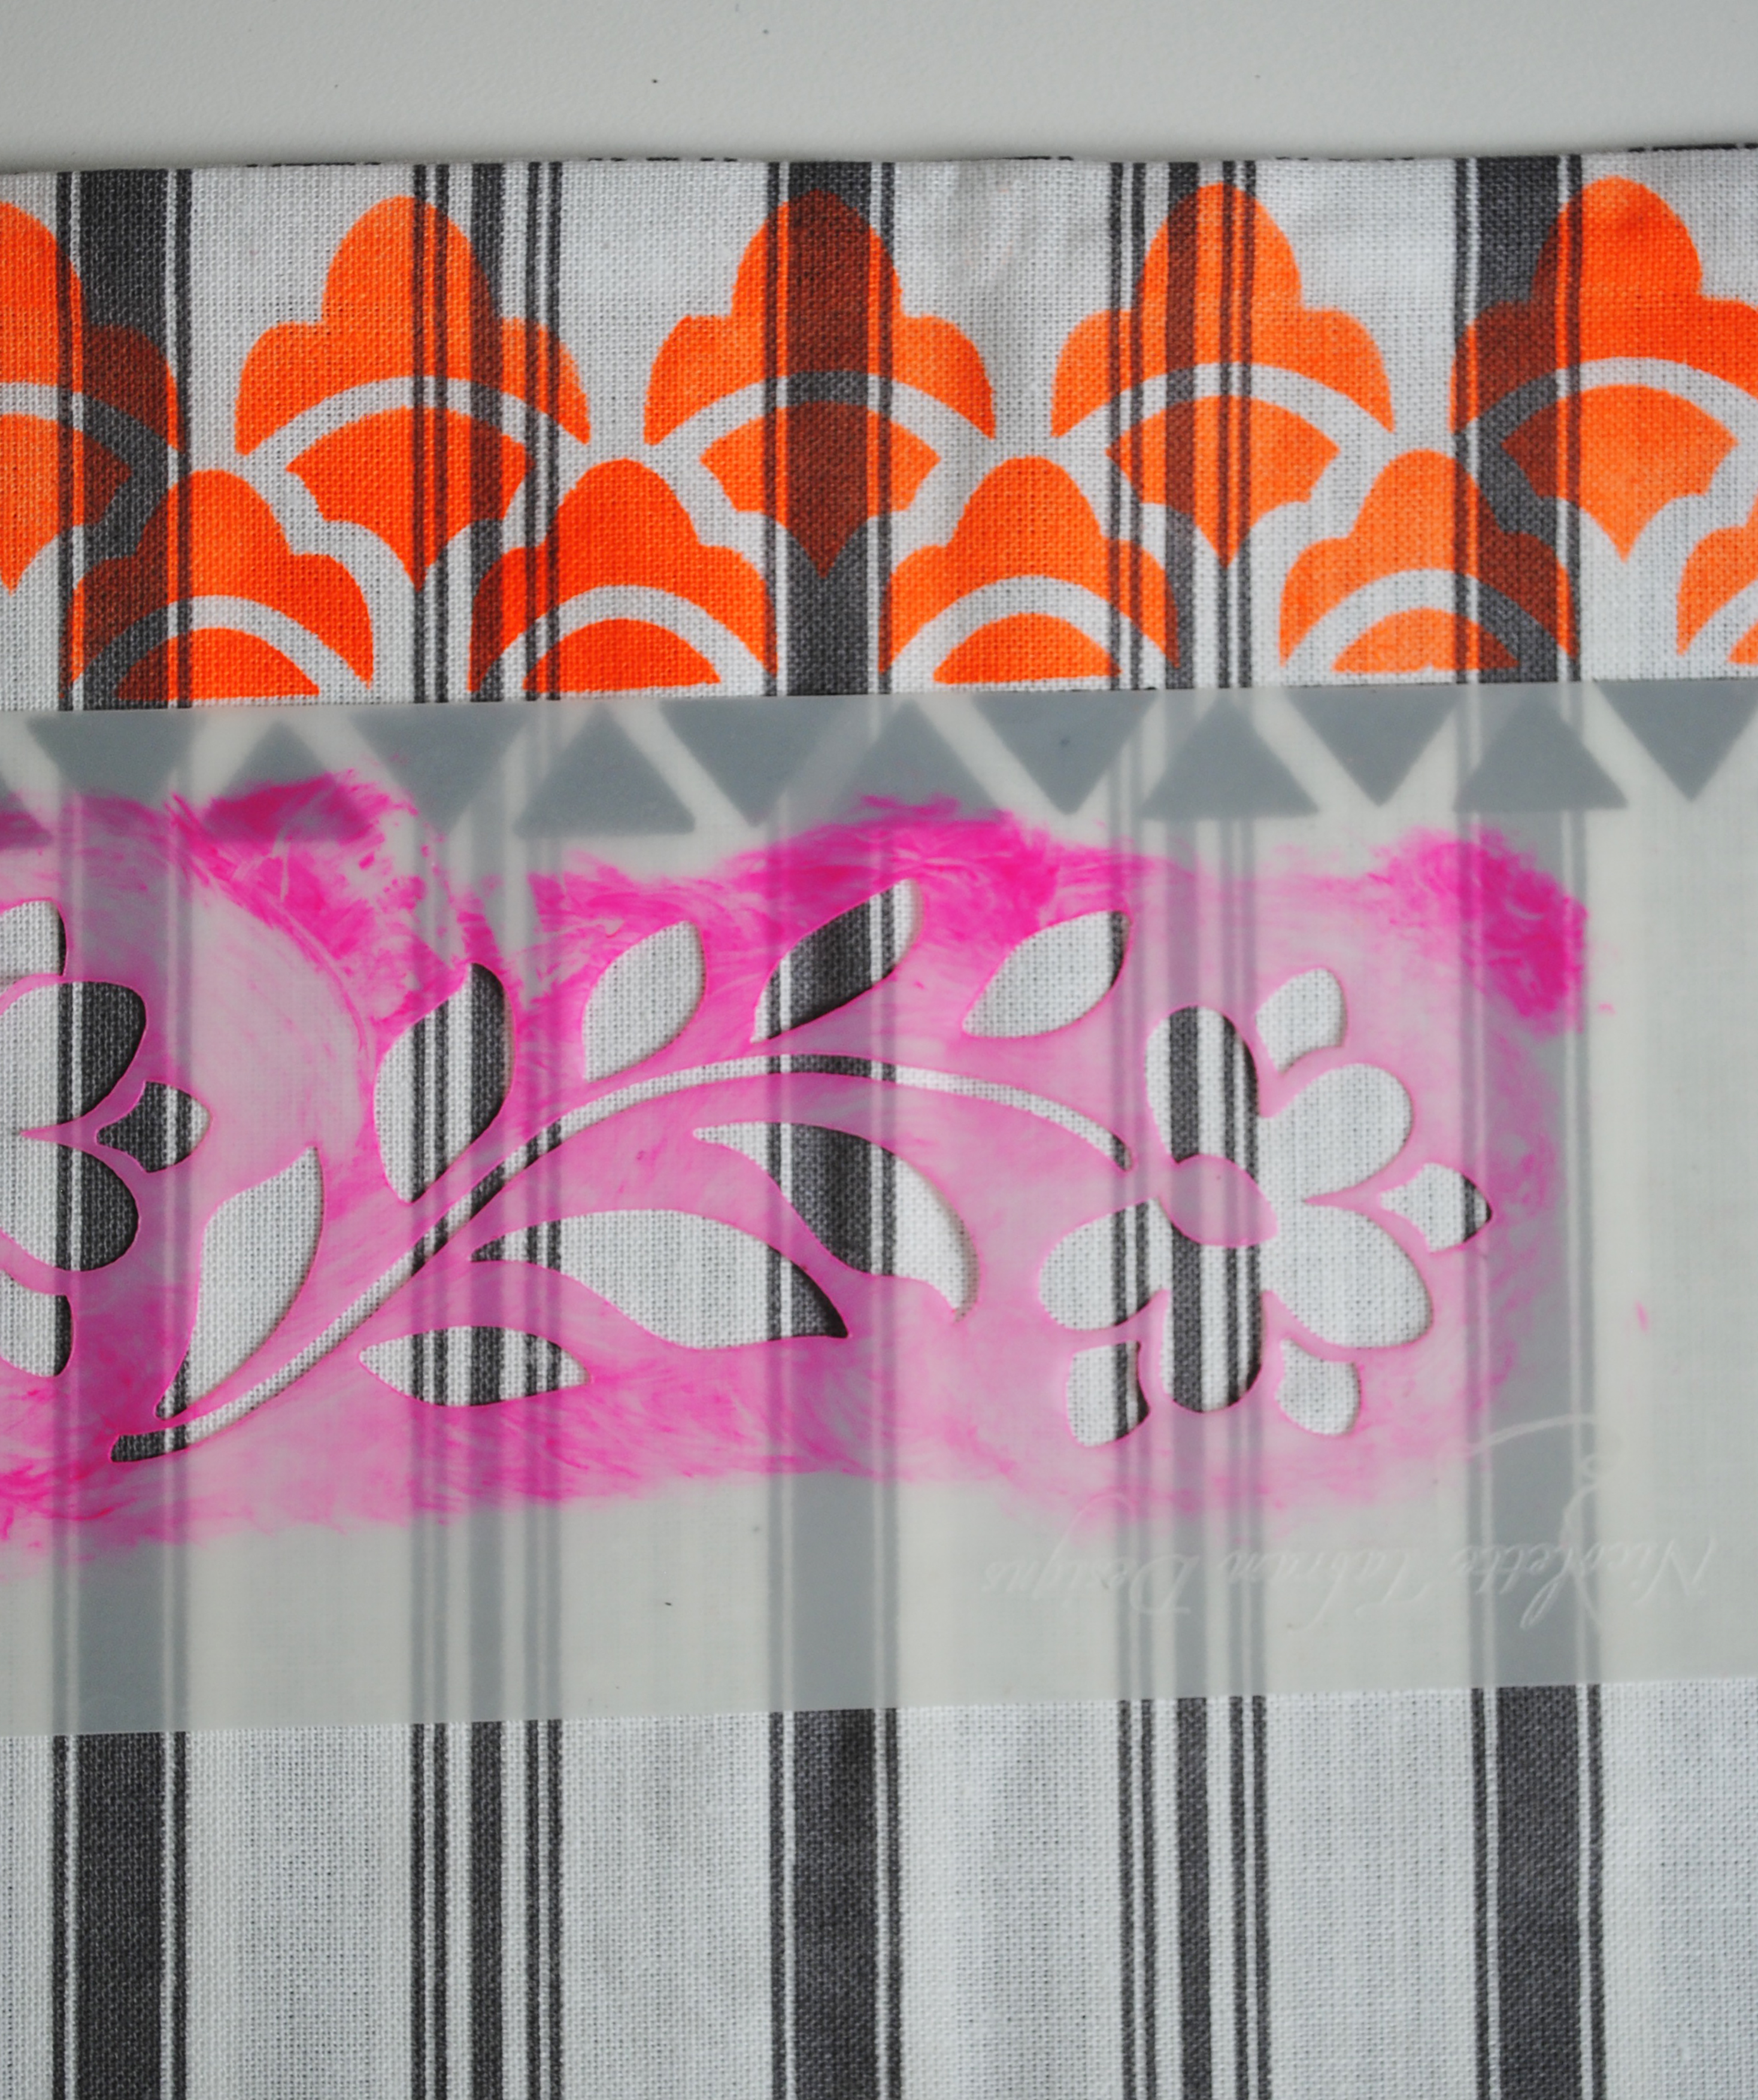
I wanted to use an eclectic mix of pattern and scale, so used a combination of borders and repeating patterns with the large scale Kota Stencil. As usual the layout wasn’t planned in advance, but built up gradually using one stencil at a time, balancing the colour and scale as the design developed. It is really important to stop, stand back and a take an objective look when working like this. It may seem like such an obvious thing to say, but it is so easy to forget to do this when you become absorbed by the process.
Anybody who has attended one of my furniture stencilling workshops will have heard me repeatedly telling people to remove as much paint as possible from the stencil brush, though when working on fabric, the brush needs to be loaded with slightly more paint.
Once the design was complete, the stencil pattern was fixed using a hot iron, this makes it machine washable. Fabric paint usually has a binder in it which can make the fabric feel a bit crisp at first, but once washed, it will soften down beautifully.
For this project, I used my Pondicherry, Bukhara and Malmo Borders with the Agra and Kota stencils. You can find them here at nicolettetabram.co.uk
